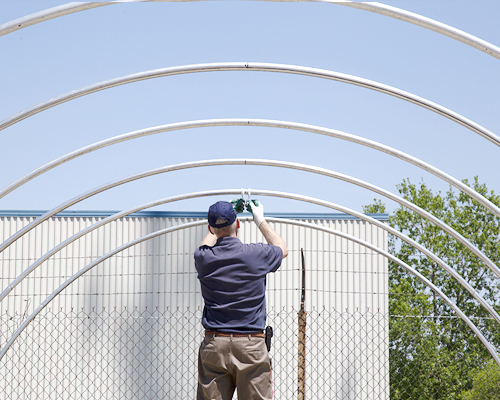
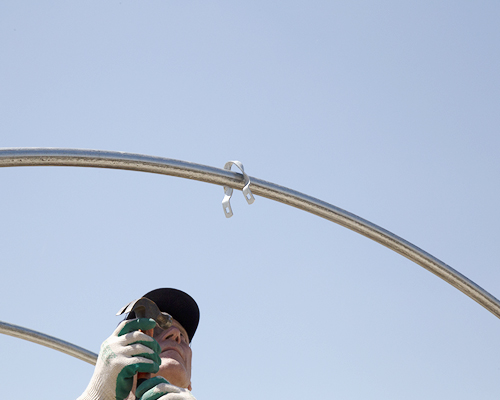
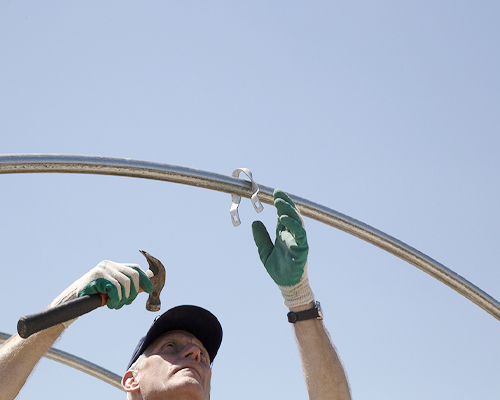
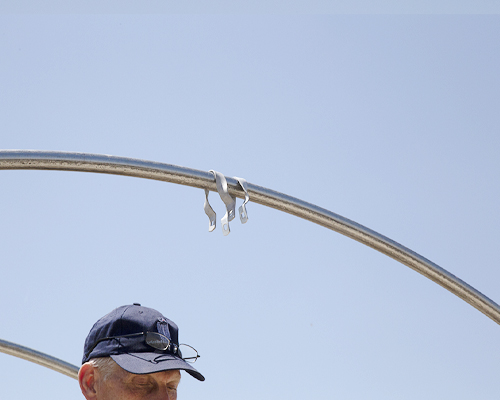
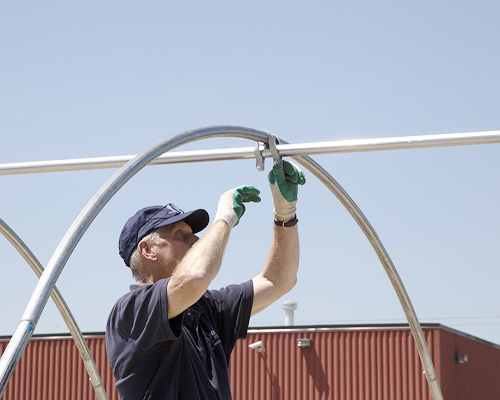
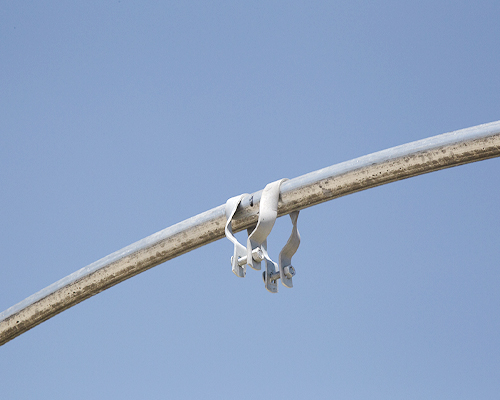
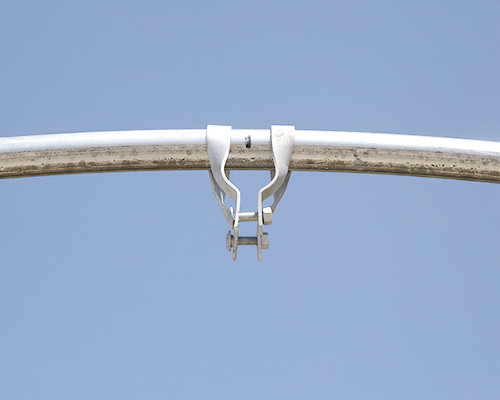
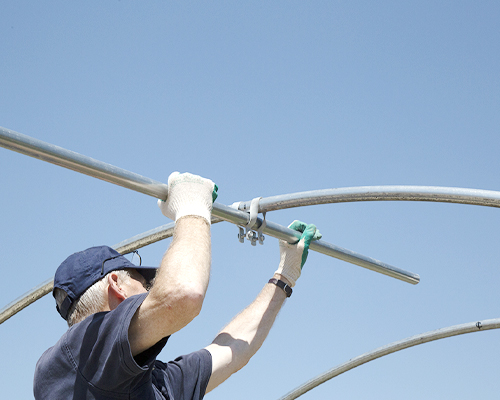
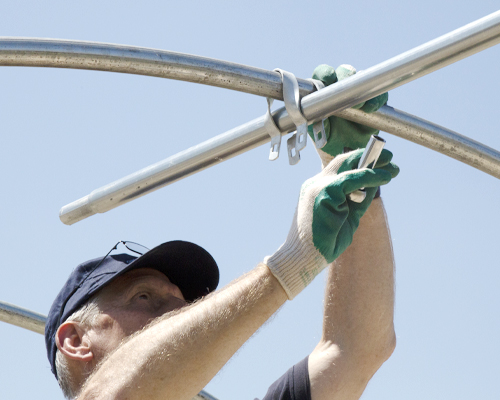
In order to effectively install Purlin Brackets to connect pipes and purlin bows, two Purlin Brackets are used along with two carriage bolts and two nuts. After the greenhouse frame is erected, slide the the Purlin Brackets over the hoop, with one on each side of the ridge pole. Then insert the carriage bolt through the two Purlin Brackets on one side and attach the nut. Repeat the same for the other side.
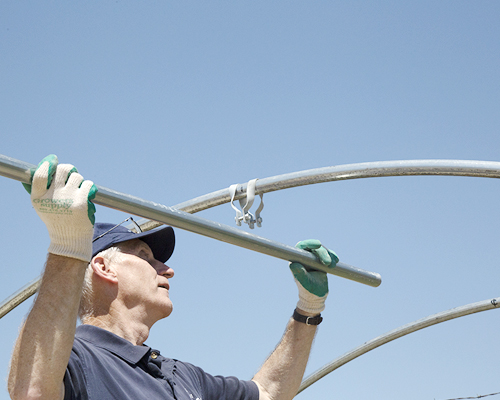
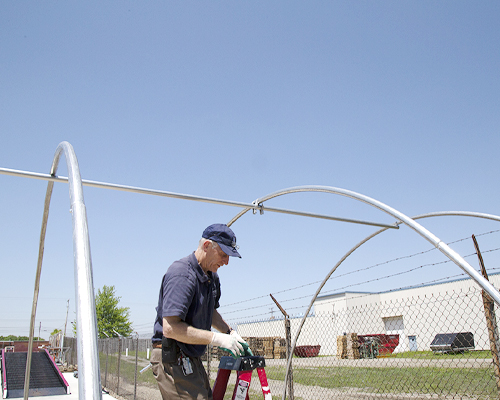
Continue adding the Purlin Brackets to secure the hoops to the pipe down the length of the greenhouse, and add any additional brackets as you see necessary for increased strength. Do not tighten the Purlin Brackets until you have finished installing the total you wish to have on the greenhouse. Take measurements to make sure that the distance between purlin polls is as desired for the frame, and make any adjustments at this time to ensure the right height at every bow. Tighten the Purlin Brackets once the structure's measurements are as designed. Installation takes less than a minute for long-lasting stability and requires no tools or maintenance.
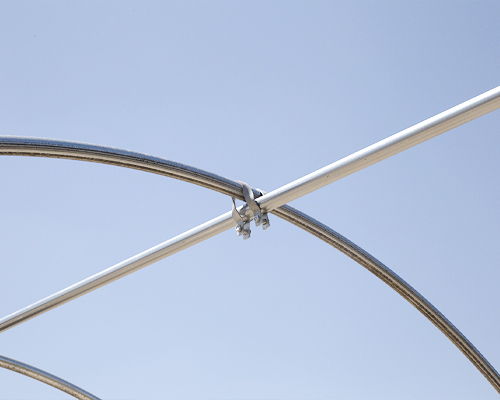
*Expert Tip: After the ridge pole is secured by the Purlin Brackets to all of the hoops, proper measurments for the lower purlins should be made to ensure that there will be enough space for different types of ventilation like fans, heaters, and hanging accessories. Keep this in mind before moving on to the next stage of your build.